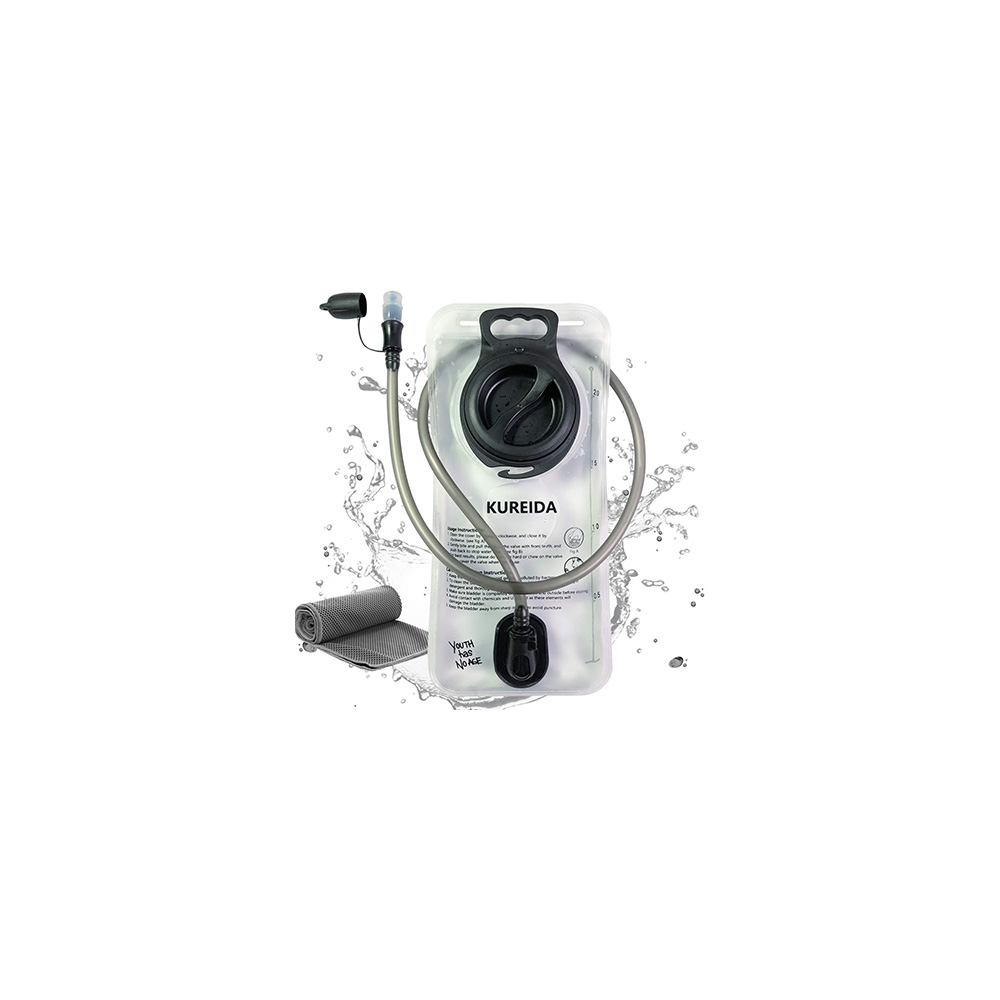
This step-by-step guide is essential. It’s for adjusting and wearing your hydration pack. It will ensure you’re ready for outdoor adventures and stay hydrated and comfortable. Misusing hydration packs can cause discomfort. It can also cause too little water intake, affecting your outdoor experience. Did you know that dehydration can impair performance by up to 30%? Stay hydrated and enjoy your outdoor activities by following this guide!
Tips and Tricks for Hydration Packs and Water Bladders
Inspect the Hydration Pack
- Check for any damages, leaks, or dirt. Inspect the whole hydration pack. Look for tears, holes, or signs of wear. Fill the pack with water and check for any leaks by squeezing the reservoir.
- Make sure the pack is clean and all components are functioning well. Use a mild soap solution and a brush to clean the pack, paying attention to the hose and mouthpiece. Test the bite valve by sucking on it to ensure proper flow of water.
Examples:
- Check for any damages: Examine the pack under good lighting conditions for any cuts, punctures, or abrasions.
- Check for leaks: Fill the reservoir with water, securely close it, and then gently press on all areas to verify there are no leaks.
- Ensure all components are functioning well: Run water through the hose and bite valve to confirm proper function, and test the on/off switch if your pack has one.
Adjust the Straps
Loosen all straps on the backpack before wearing it to ensure a proper fit. Adjust the shoulder straps by pulling or releasing them. Do this until they rest on your shoulders. Next, tighten the chest strap. This will keep the shoulder straps in place and stop them from slipping off. Finally, tighten the waist belt around your hips. This spreads the weight and boosts comfort on your hike or trip.
Fill the Reservoir
- Remove the reservoir: Firmly grasp the reservoir handle and pull it out of the pack.
- Fill it with water: Open the reservoir cap and fill it with clean, fresh water until it reaches the desired level.
- Securely close it: Seal the reservoir tightly by closing the cap. Make sure it is properly aligned to prevent leaks.
- Slide the reservoir back into the pack: Carefully slide the filled reservoir into the pocket. It is closed and designated for the reservoir. Ensure it is securely in place for your next outdoor adventure.
Position the Pack
- Put on the pack and position it high on your back.
- Example: Stand up straight, put both arms through the shoulder straps, and lift the pack onto your back.
- Tighten the shoulder straps to ensure a snug fit.
- Example: Pull the straps evenly on both sides, so the pack sits comfortably without sagging or feeling loose.
Secure the Chest Strap
- Clip the chest strap across your chest. Pull the straps around to the front of your body, then securely fasten the clip in the center of your chest. Adjust it so it sits comfortably snug, ensuring it’s not too tight or too loose.
- Distribute the weight evenly. Secure the chest strap. It helps spread the backpack’s weight. This reduces pressure on your shoulders. This will make your journey more comfortable and reduce strain on your back.
- Prevent the pack from bouncing. The chest strap keeps the backpack close to your body. It stops it from moving and bouncing as you walk. This stability allows for better balance and posture while on the move.
Adjust the Waist Belt
- Secure the waist belt snugly around your hips. Adjust the buckle to ensure a tight fit without being uncomfortable. This will spread the pack’s weight. It will reduce strain on your shoulders during your hike.
- Examples:
- Loose Fit: If the belt is too loose, you will feel the weight of the pack pulling down on your shoulders. This will cause discomfort and potential pain.
- Tight Fit: But, if the belt is too tight, it may dig into your hips. It will restrict movement, causing discomfort and potential chafing.
- Correct Fit: Make sure the belt is snug. It should stay in place without slipping. This lets you move comfortably. It also keeps the weight of the pack off your shoulders.
Check the Fit
Adjust the shoulder straps and hip belt to distribute weight evenly. Ensure the backpack rests comfortably against your back. Secure all buckles and straps snugly, but not too tight. Confirm you can move your arms freely and comfortably while wearing the pack.
Hydration Tube Placement
Position the hydration tube over your shoulder. Adjust the clip to keep it in place securely. Ensure the tube is easily accessible while you are on the move.
Test the System
- Take a short walk or hike to test the pack’s fit.
- Adjust the pack straps and hip belt as needed for optimal comfort. Ensure the pack sits securely on your back.
- Stay hydrated by testing the accessibility of the water reservoir or bottle holders. Adjust to ensure easy access while you walk.
Hydration Pack Usage Tips
Great job! Your conclusion summarizes the key point of the blog. It encourages the reader to use the tips for a better adventure. Keep up the good work!
Essential Gear Needed
Hydration Pack Mastery
Hydration Pack Usage Instructions
- Fill the hydration pack with water: Open the reservoir, fill it with water, and tightly secure the lid to prevent leaking
- Adjust the straps: Ensure the hydration pack fits snugly on your back by adjusting the shoulder straps and chest strap
- Drink by biting the valve: When you’re ready to hydrate, bite the valve gently to release water. Sip as needed to stay hydrated
- Clean the hydration pack after each use: Regularly clean the reservoir and tube with a cleaning kit to prevent bacteria buildup
- Use the hydration pack during outdoor activities: Bring the hydration pack along for hikes, biking, running, or other physical activities to stay hydrated on the go
Hydration Pack Basics
Accessories make a hydration pack easier to use. They include a cleaning kit for the pack and tubing. Also, a bite valve cover protects from dirt and germs. A clip secures the water tube. An insulated sleeve keeps water cool. And a filter purifies natural water sources while hiking. These accessories can help improve the functionality and lifespan of your hydration pack.
When drinking from a hydration tube while on the move, a helpful technique is to use a hands-free system. These systems include a hydration pack or a waist-mounted system. This allows you to sip water through the tube. You can do this without having to stop or use your hands. It is handy during outdoor activities like hiking, running, or biking. Just make sure the tube is easy to reach. Also, keep the mouthpiece clean. This will help you stay hydrated efficiently on the go.
When shopping for a hydration pack, there are a few key features to consider. Look for a pack with a suitable storage capacity for the amount of gear you plan to carry. Make sure the pack is comfortable and fits well on your back, with adjustable straps for a customized fit. Check for a leak-proof water reservoir. It should have enough capacity for your hydration needs. Also, think about extra features. These include pockets, hose systems, and insulation. They keep your water cool. Picking a hydration pack to meet your needs will enhance your outdoor adventures.
To prevent leaks from your hydration bladder, make sure you have sealed the cap or lid tightly. Check that all connections are tight. Also, check for cracks or tears in the bladder. Also, when filling the bladder, be careful not to overfill it, as this can create pressure that leads to leaks. Finally, store your hydration bladder properly when not in use. Ensure it is dry and clean before storing it. Proper maintenance and care will help avoid leaks. They will also extend the life of your hydration bladder.
Store your hydration pack when not in use. Follow these steps to keep it in good condition:
- Clean and dry the hydration pack after each use. This prevents mold and bacteria growth.
- Empty the water reservoir completely and leave all compartments open to air dry.
- Store the hydration pack in a cool, dry place away from direct sunlight.
- Avoid storing it near chemicals or sharp objects that could damage the pack.
- Consider hanging the hydration pack or storing it flat to maintain its shape.
Follow these guidelines. They can help prolong your hydration pack’s life and keep it ready for your next adventure.
Yes, you can use ice in your hydration pack to keep your water cold. It’s a great way to stay hydrated and maintain a refreshing temperature while you’re on the go. Just make sure your hydration pack can handle ice, as some may have limitations. Using ice is often better. It can give colder water for longer than just adding cold water. Enjoy your chilled hydration!
Yes, there are cleaning products designed for hydration packs. These products clean well. They also maintain hydration pack reservoirs, tubes, and bite valves. They prevent mold, mildew, and bacteria. This keeps your hydration pack fresh and safe to use. You can find these cleaning products at outdoor retailers. You can also find them at online stores that sell hydration gear.
You should replace your hydration bladder every 6-12 months. The time depends on how often you use it and how well you maintain it. Over time, the bladder can wear out. This wear may hurt its function and cleanliness. Regular replacements can help. They will ensure you have a reliable hydration system for your outdoor adventures. It will be clean.


 Home
Home  Whishlist
  Compare
  Blog
Blog
One tip I would add is to regularly clean and dry the hydration pack components after each use to prevent mold or mildew growth. I learned the hard way that neglecting proper maintenance can lead to unpleasant surprises when using the pack again. Taking a few extra minutes to care for the pack can prolong its lifespan and keep it hygienic.
That's a valuable tip you've shared! Maintenance is indeed crucial for ensuring the longevity and cleanliness of the hydration pack. It's a good reminder for all users to incorporate proper cleaning routines into their post-use habits.
After following these steps, I took my hydration pack on a hiking trip in the Grand Canyon. The information provided was instrumental in ensuring that my pack was adjusted correctly for the long trek. Having easy access to water while navigating the trails was a game-changer, and the pack stayed securely in place throughout the entire journey.
Thank you for sharing your real-world application! It's great to hear that the guide helped you prepare for your hiking trip. The Grand Canyon must have been an amazing place to put the hydration pack to the test.
I found that adjusting the chest strap before positioning the pack helped me achieve a more comfortable fit. By securing the chest strap first, I was able to better gauge how high or low I needed the pack to sit on my back. This adjustment made a significant difference in how the pack felt during my outdoor activities.